SAP App Gyver Unit1. SAP BTP의 low code/ no code 서비스 구독하기
페이지 정보
본문
SAP BTP의 low code/ no code 서비스 구독하기
SAP BTP에서 Low-Code/No-Code 서비스에 가입 후 시작하시면, 모든 기술 능력을 갖춘 사용자를 위한 직관적인 애플리케이션 개발 솔루션인 AppGyver Composer 도구에 액세스할 수 있습니다.
목차
- 노코드/로우 코드 부스터 검색
- 설치 마법사 시작
- 계정 세부 정보 구성
- SAP BTP 하위 계정으로 이동
- 앱가이버 서비스 열기
사전 준비사항
-EU10의 SAP BTP 계정에 Low-Code/No-Code 사용 권한으로 액세스 해야 합니다.
1.노코드/로우 코드 부스터 검색
Low-Code/No-Code 서비스에 가입하려면 다음 단계를 수행합니다.
SAP BTP cockpit에서 Boosters를 클릭합니다.
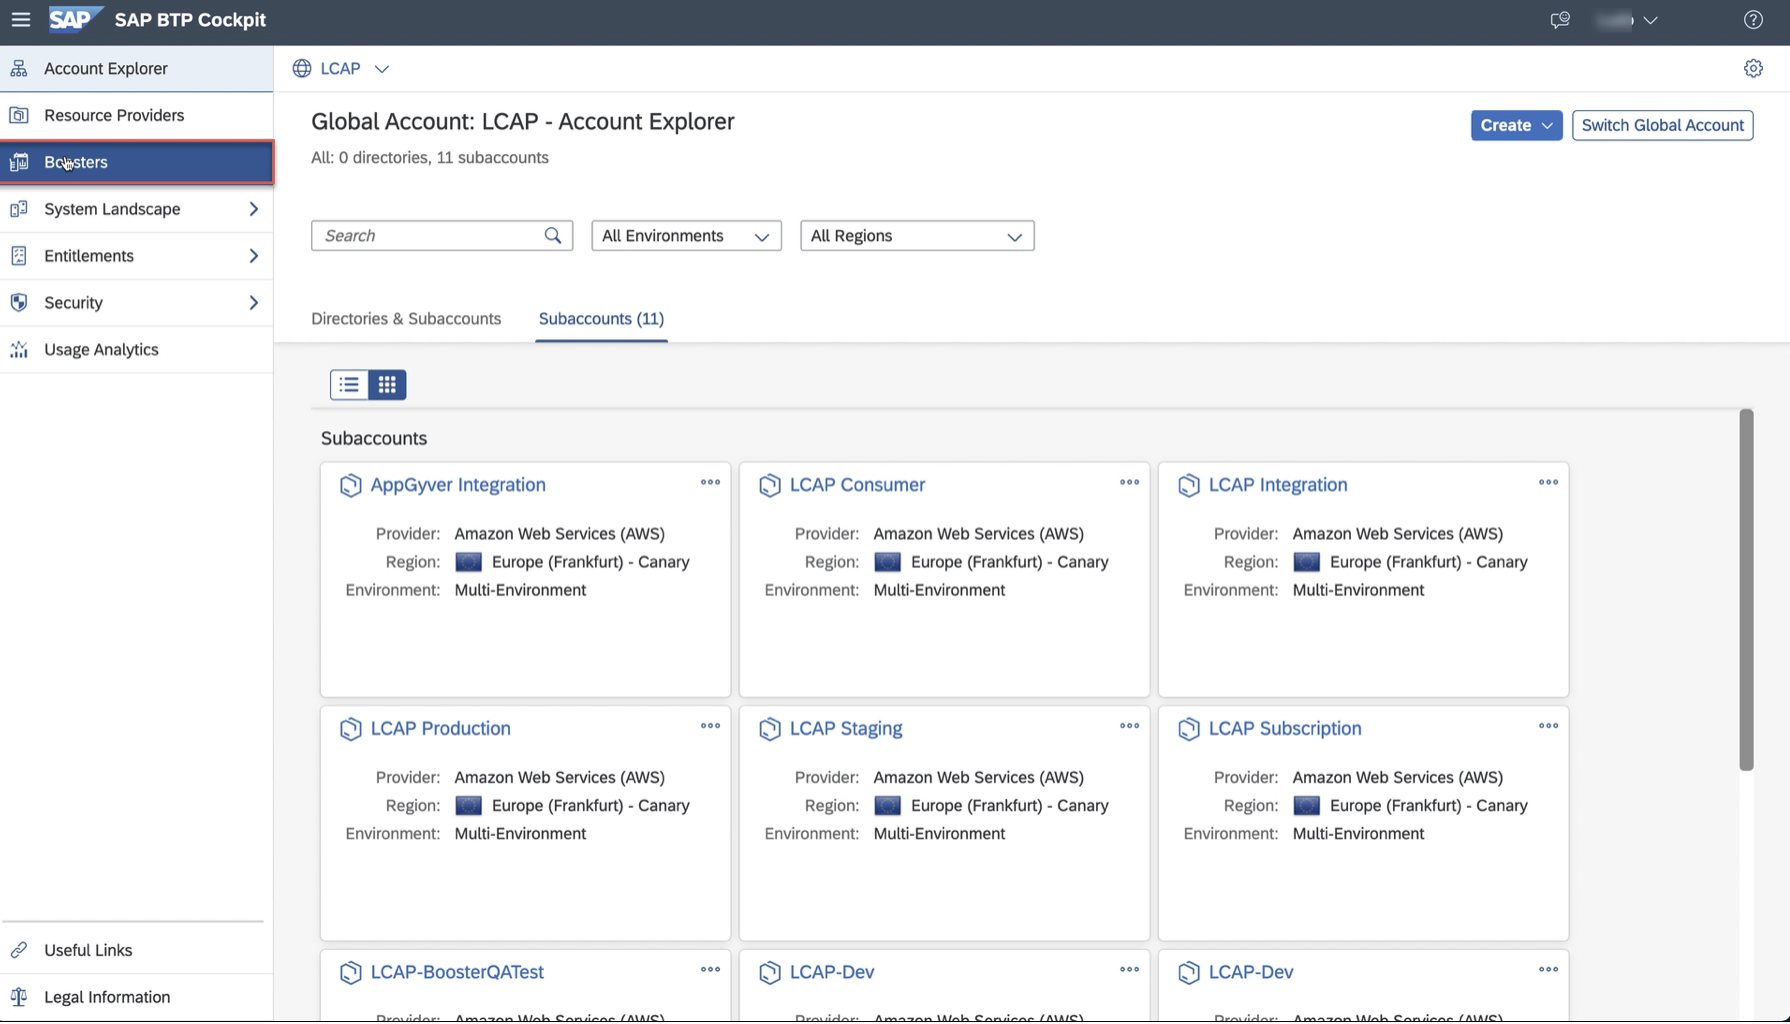
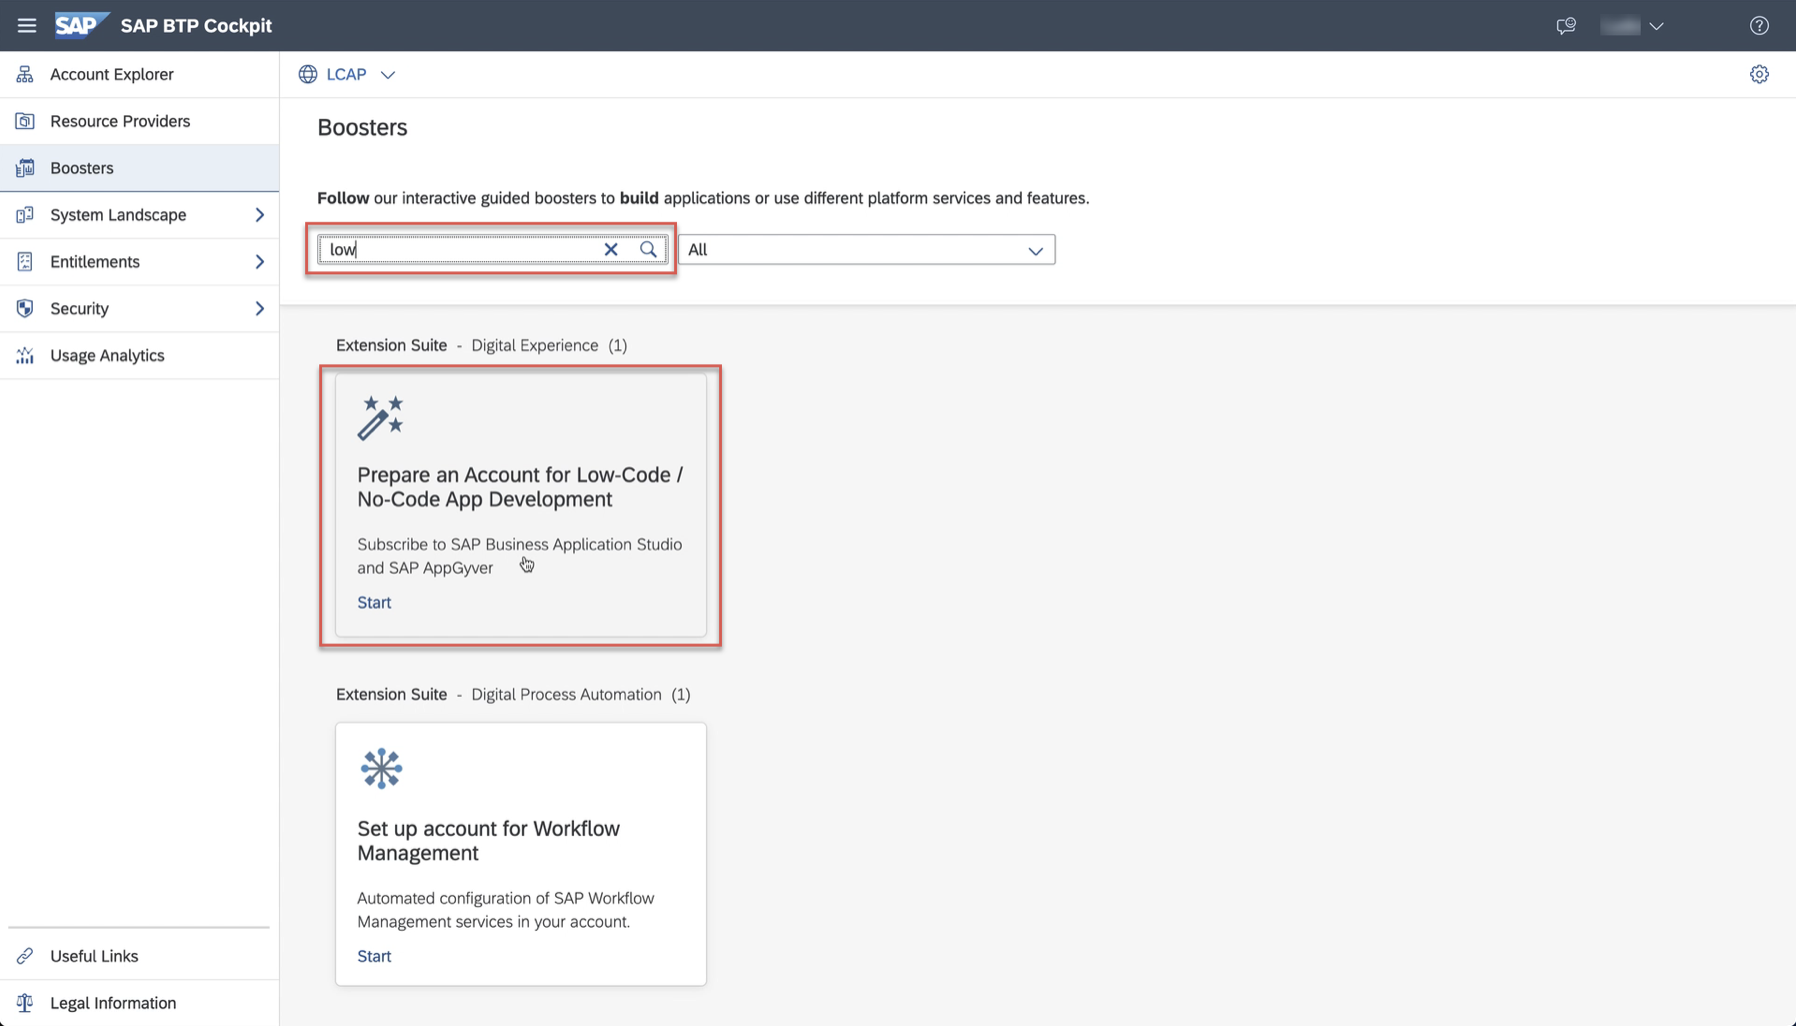
Prepare an Account for Low-Code를 검색합니다. SAP Business Application Studio와 SAP AppGyver booster에 위치해있습니다.
service 아이콘을 클릭하여 서비스 개요 페이지를 엽니다.
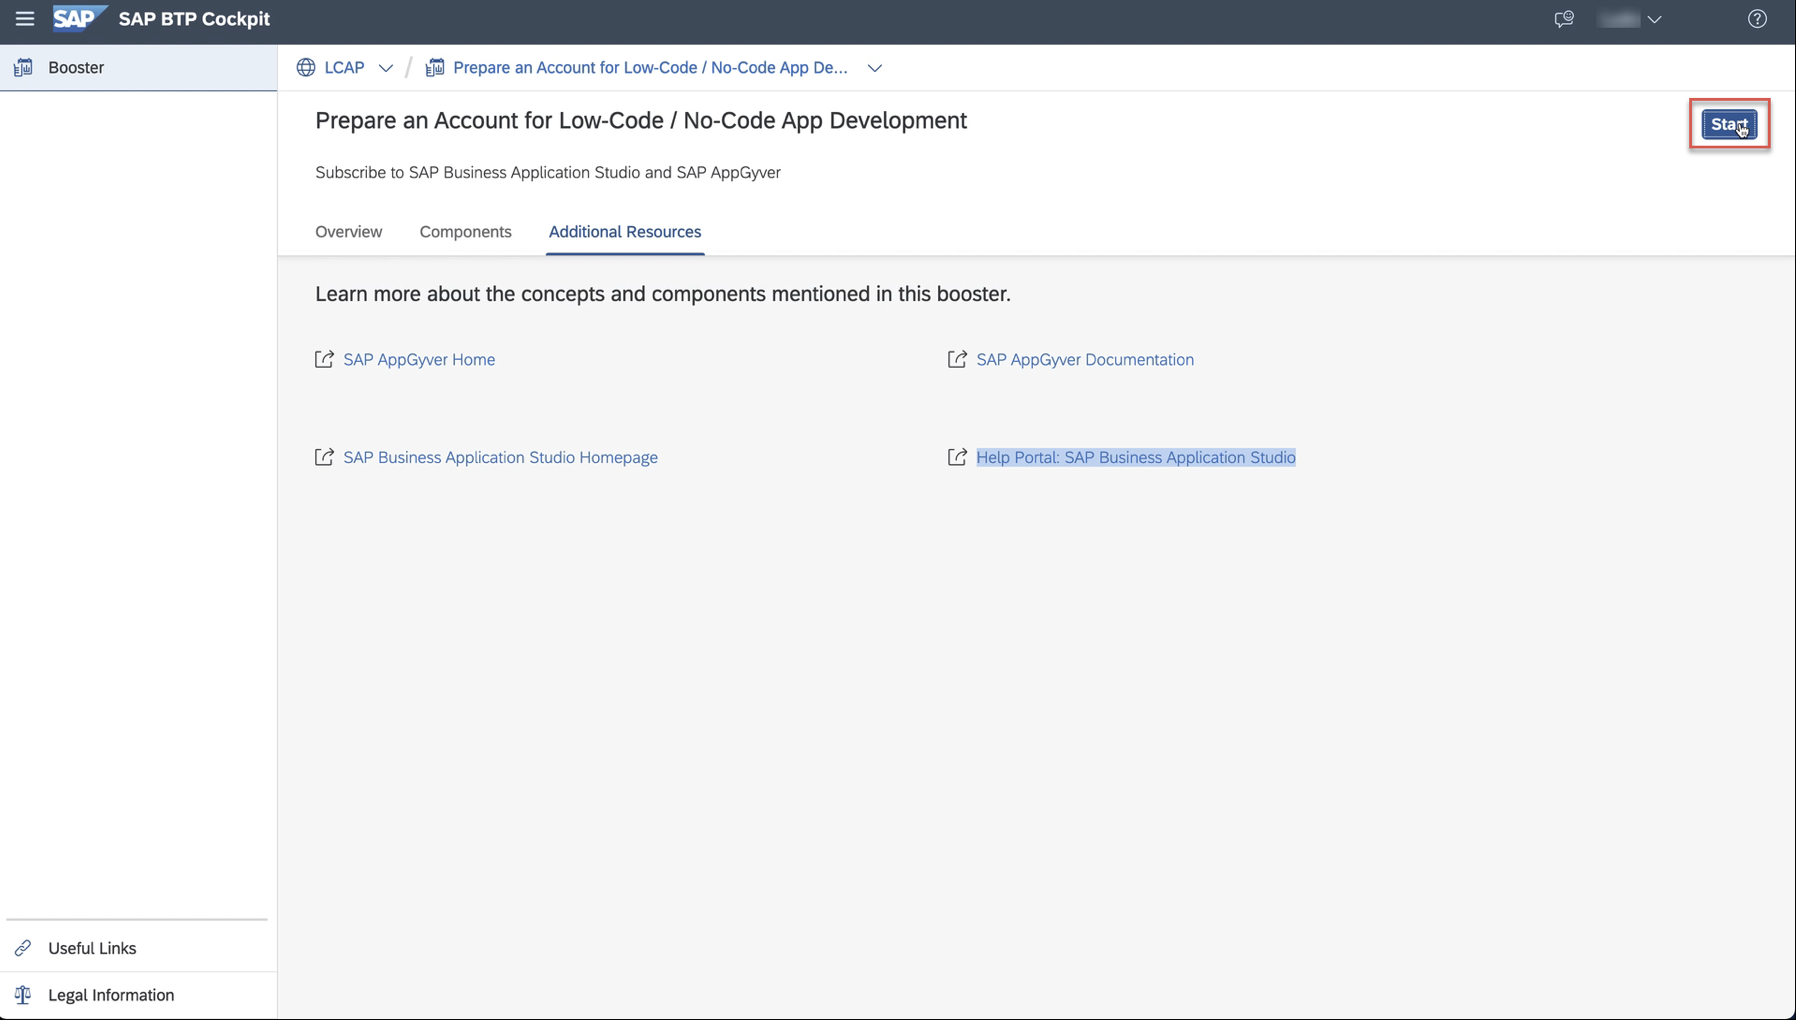
2.설치 마법사 시작
Start를 클릭하여 부스터 마법사를 시작합니다.
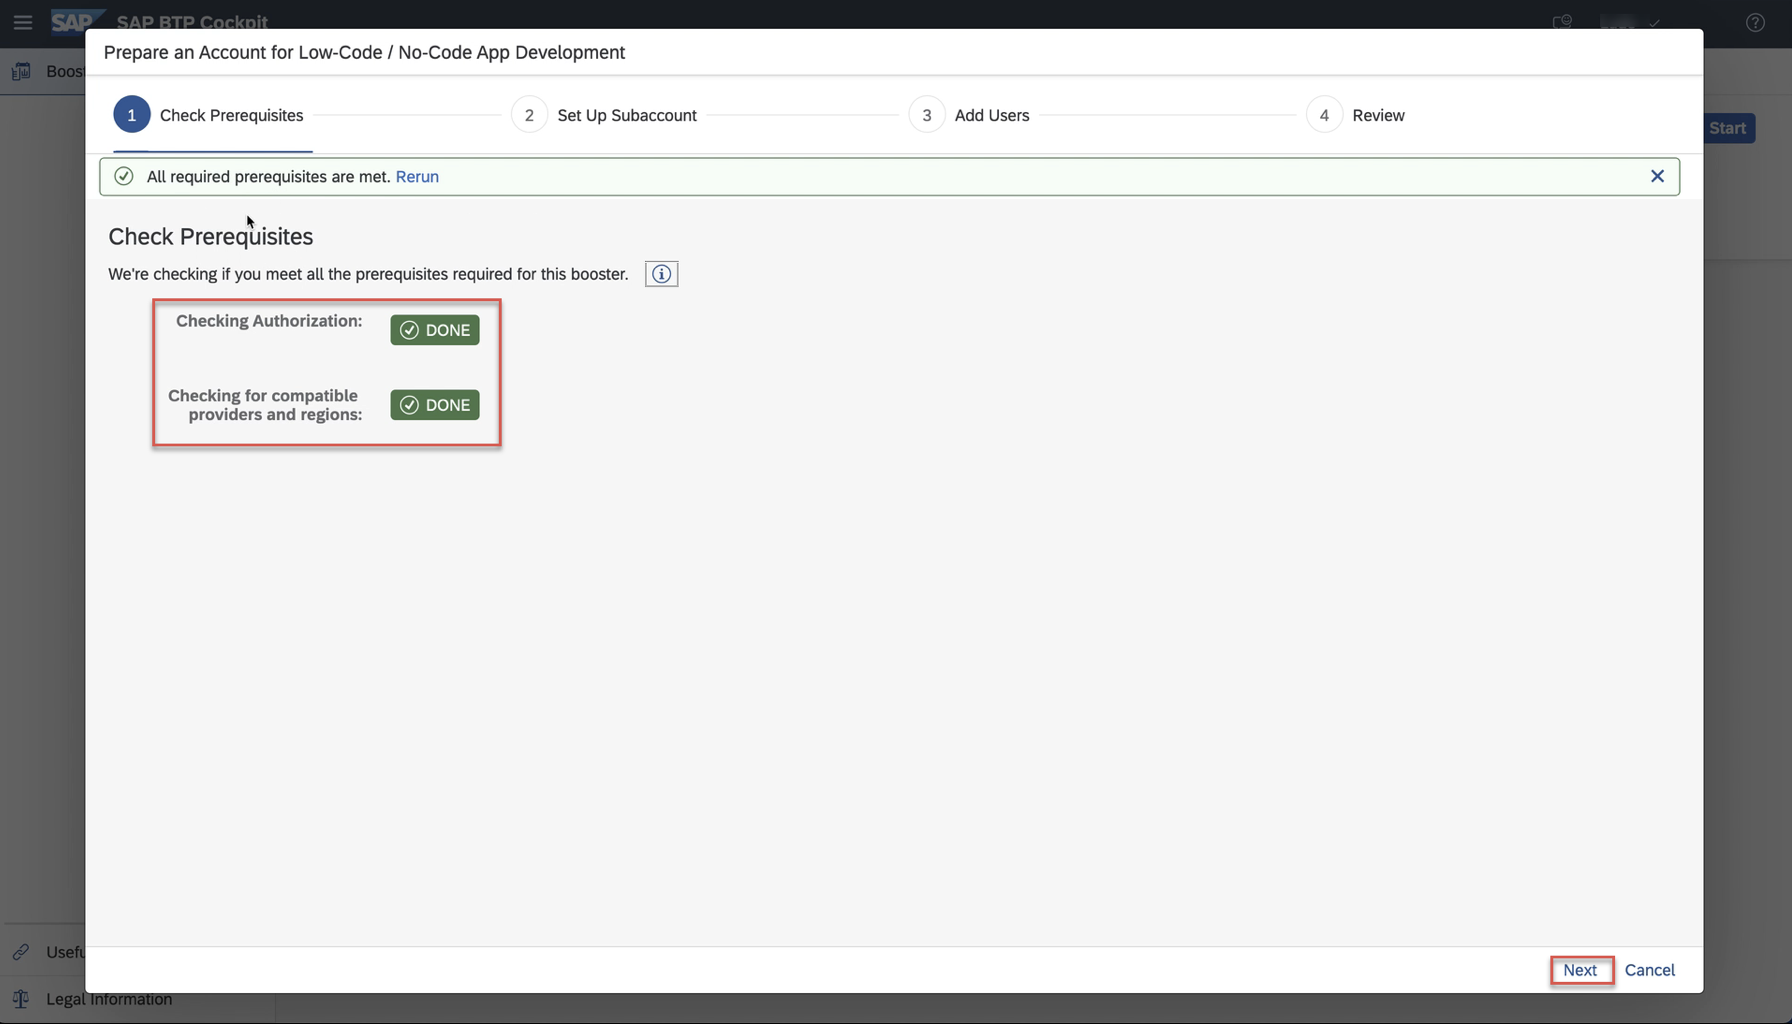
사전 필요사항은 자동으로 체크됩니다. Done표시가 나타나면, Next를 클릭하여 다음 단계로 이동합니다.
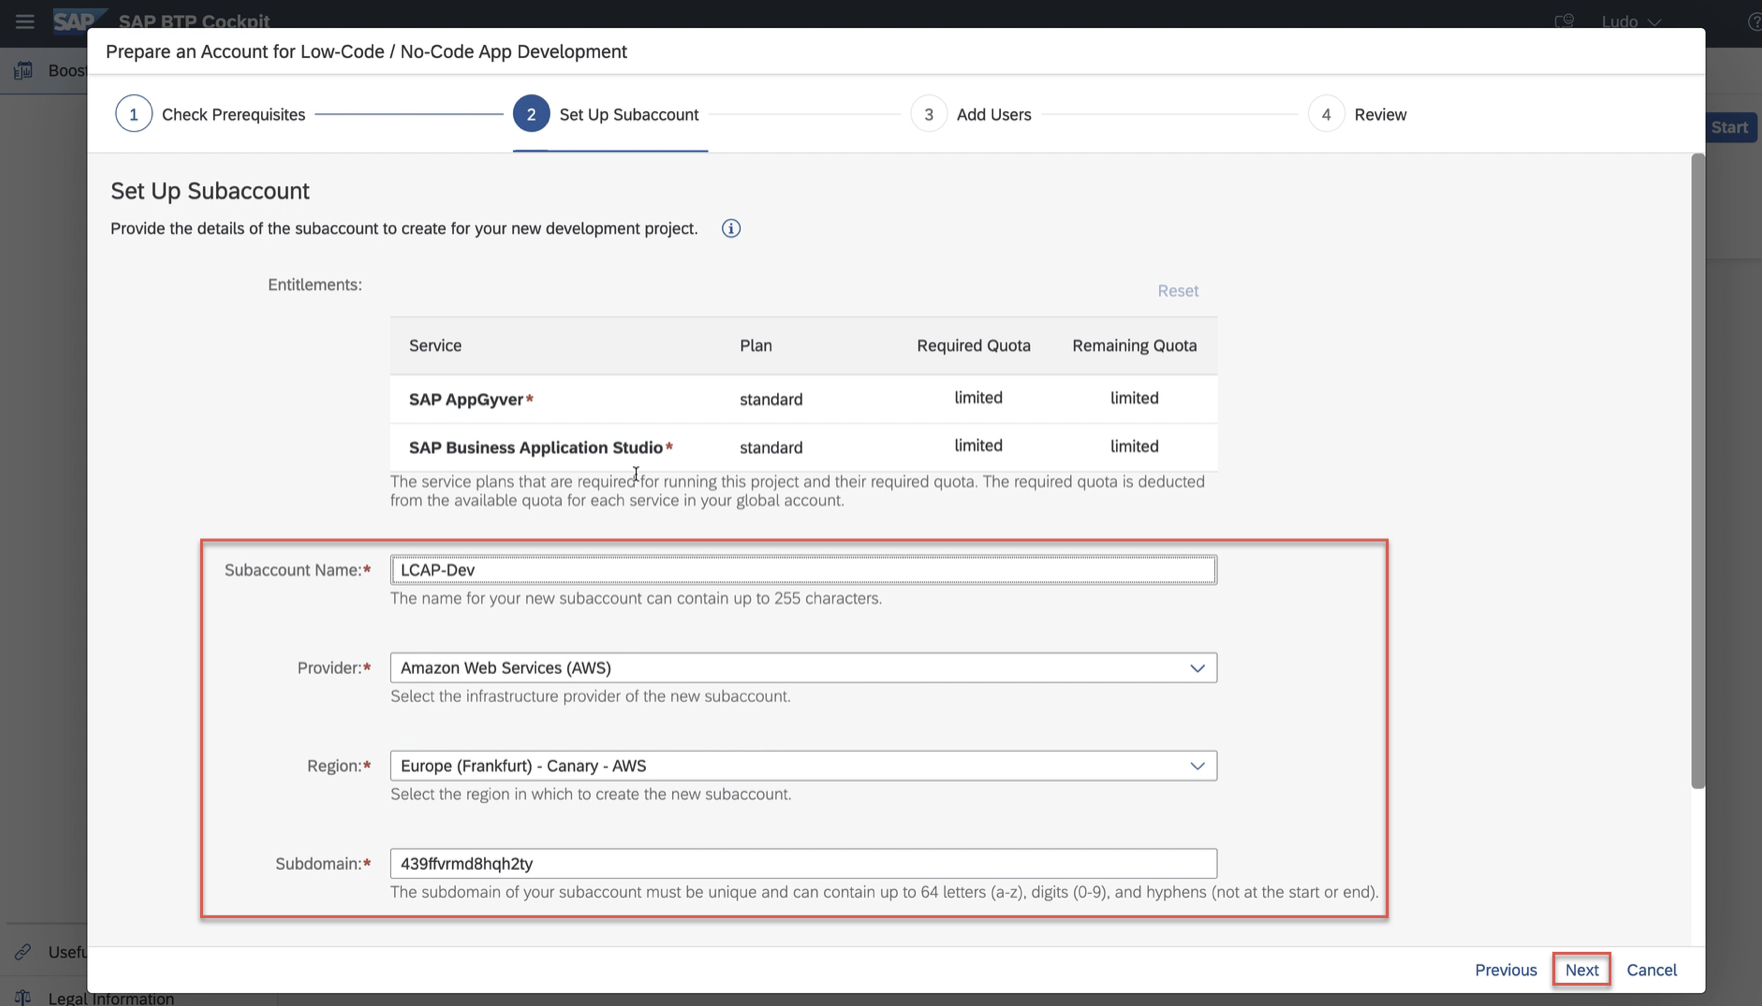
3.계정 세부 정보 구성
Subaccount이름과 Subdomain을 선택한 후 Next를 눌러 다음으로 이동하세요.
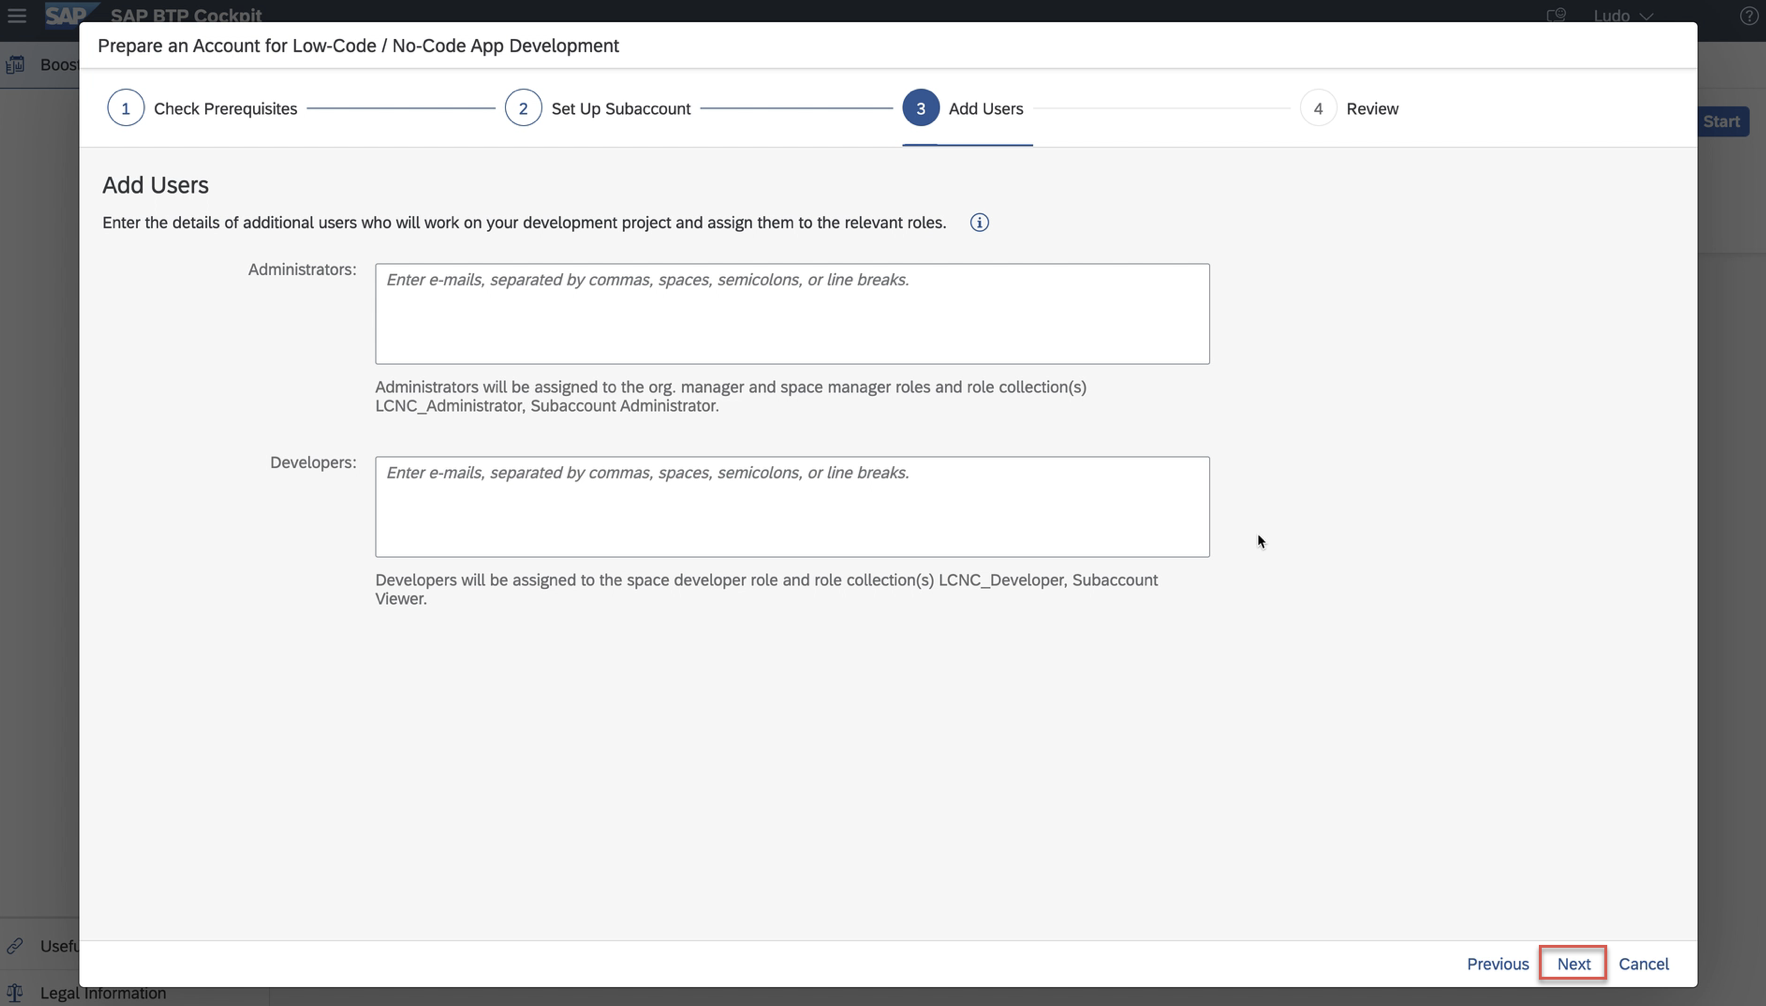
필요하다면 추가 유저를 등록하고, Next를 눌러 다음으로 이동하세요.
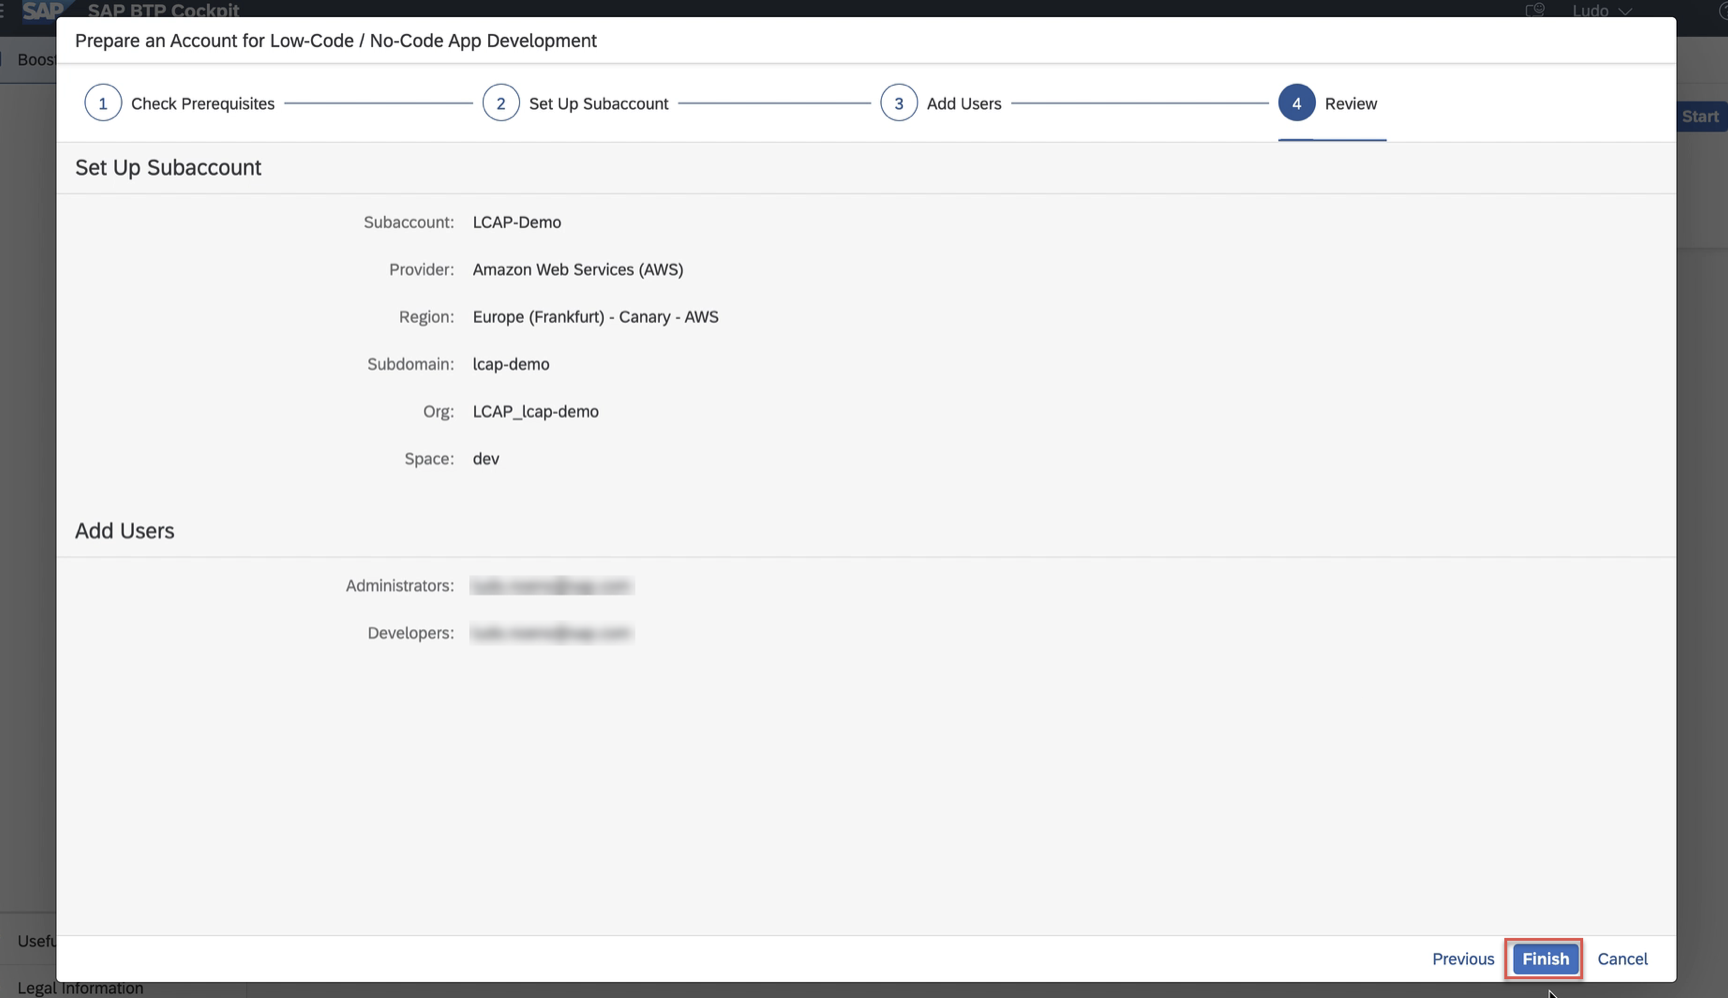
서비스 정보를 다시 확인한 후 Finish를 눌러 마치세요.
서비스 설정이 실행되어 각 항목에 대해 처리 및 완료가 표시됩니다.
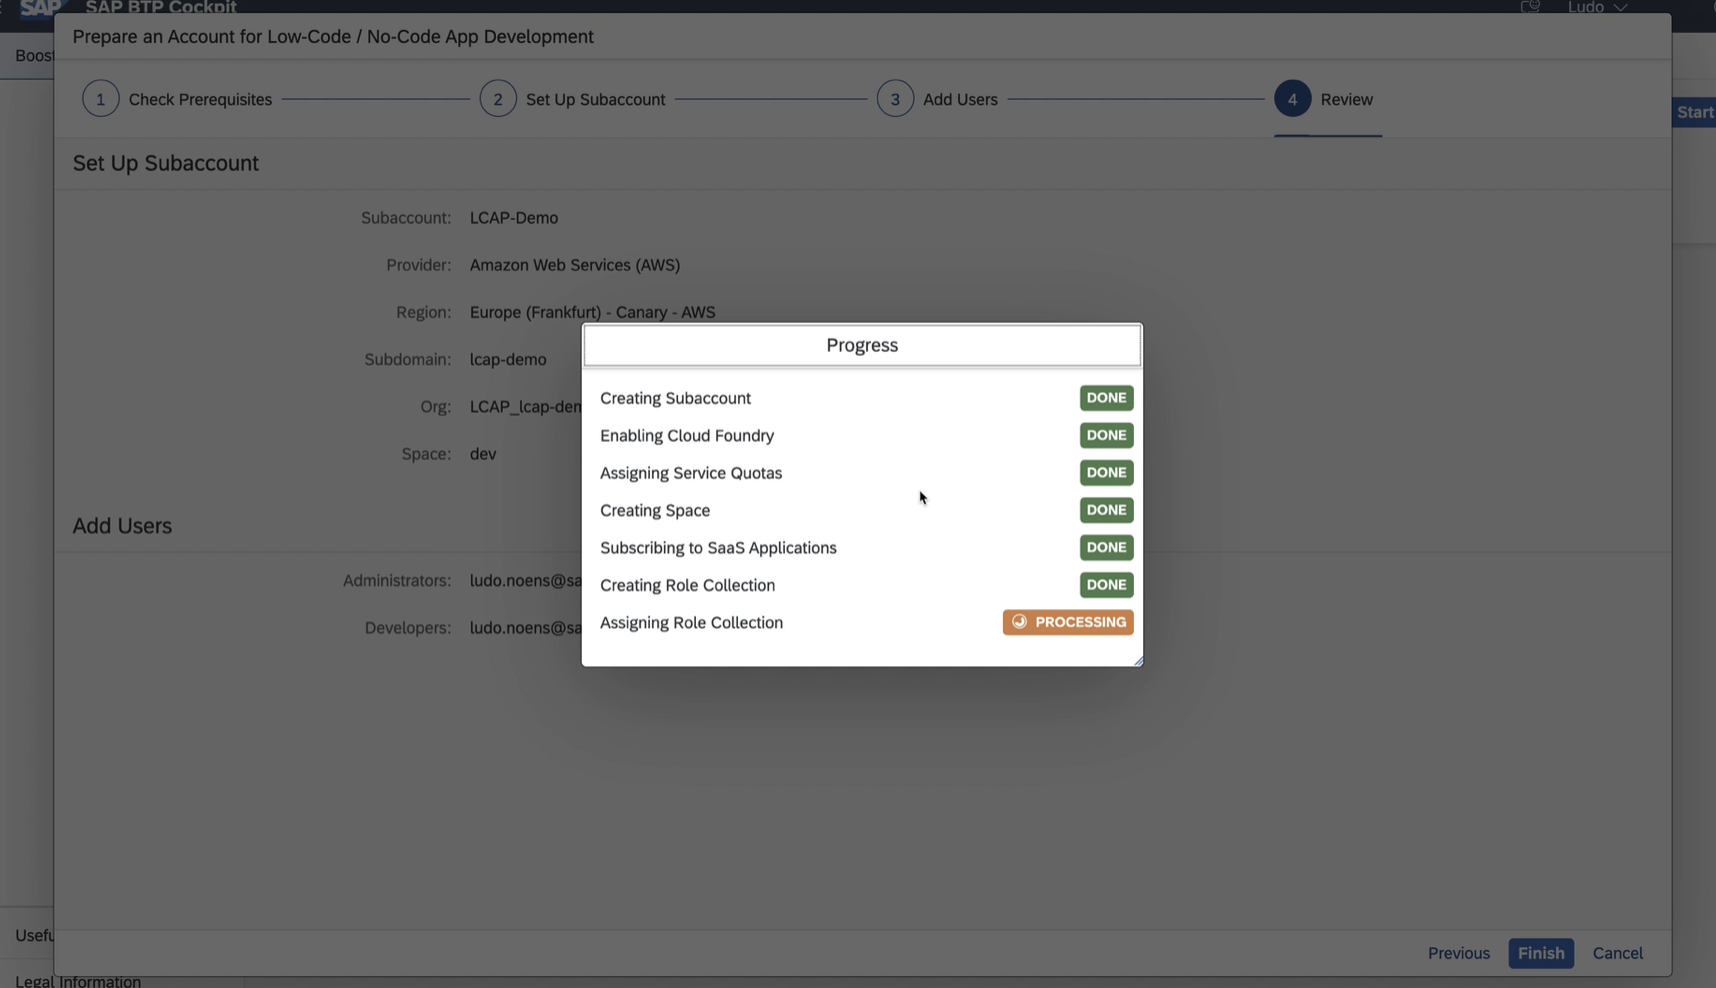
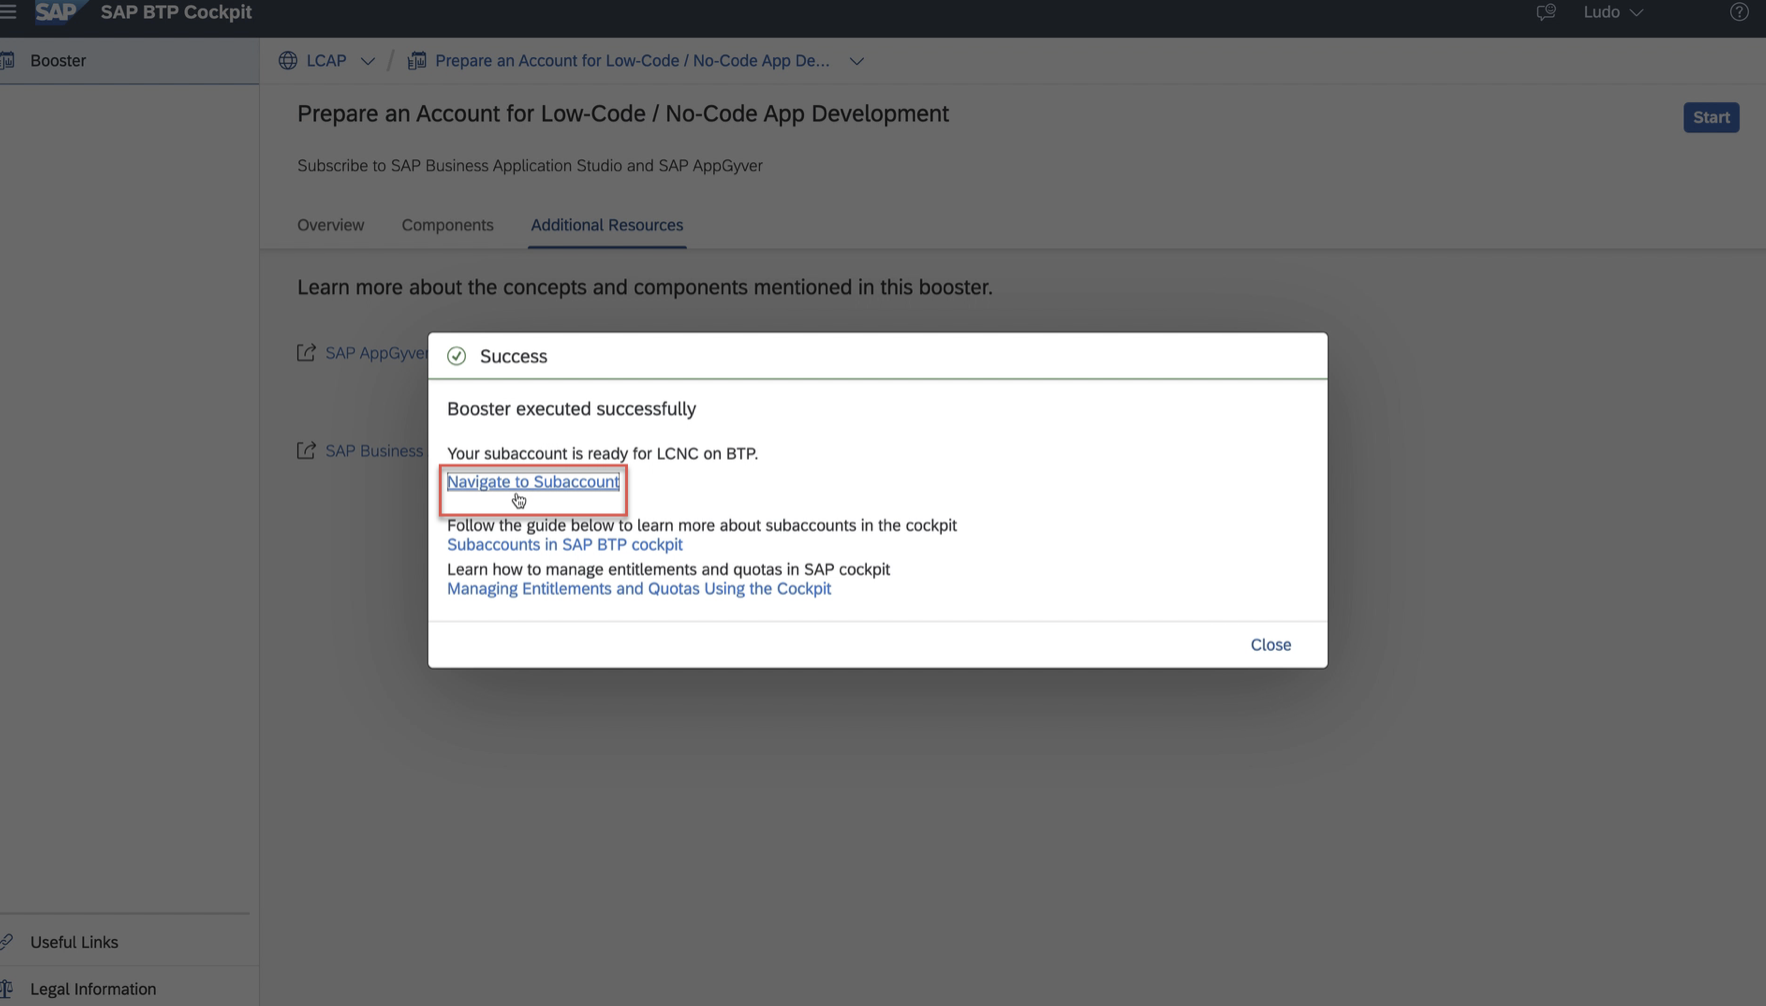
구독이 완료되면, 성공 메세지가 표시됩니다.
4. SAP BTP 하위 계정으로 이동
모든 아이템들이 Done으로 표시가 완료되면, Navigate to Subaccount를 클릭하세요.
이제 여러분의 SAP BTP 계정에 추가가 완료되었습니다.
5. 앱가이버 서비스 열기
Instances and Subscriptions를 클릭합니다. 구독하고있는 SAP APPGyver를 클릭하여 애플리케이션을 엽니다.
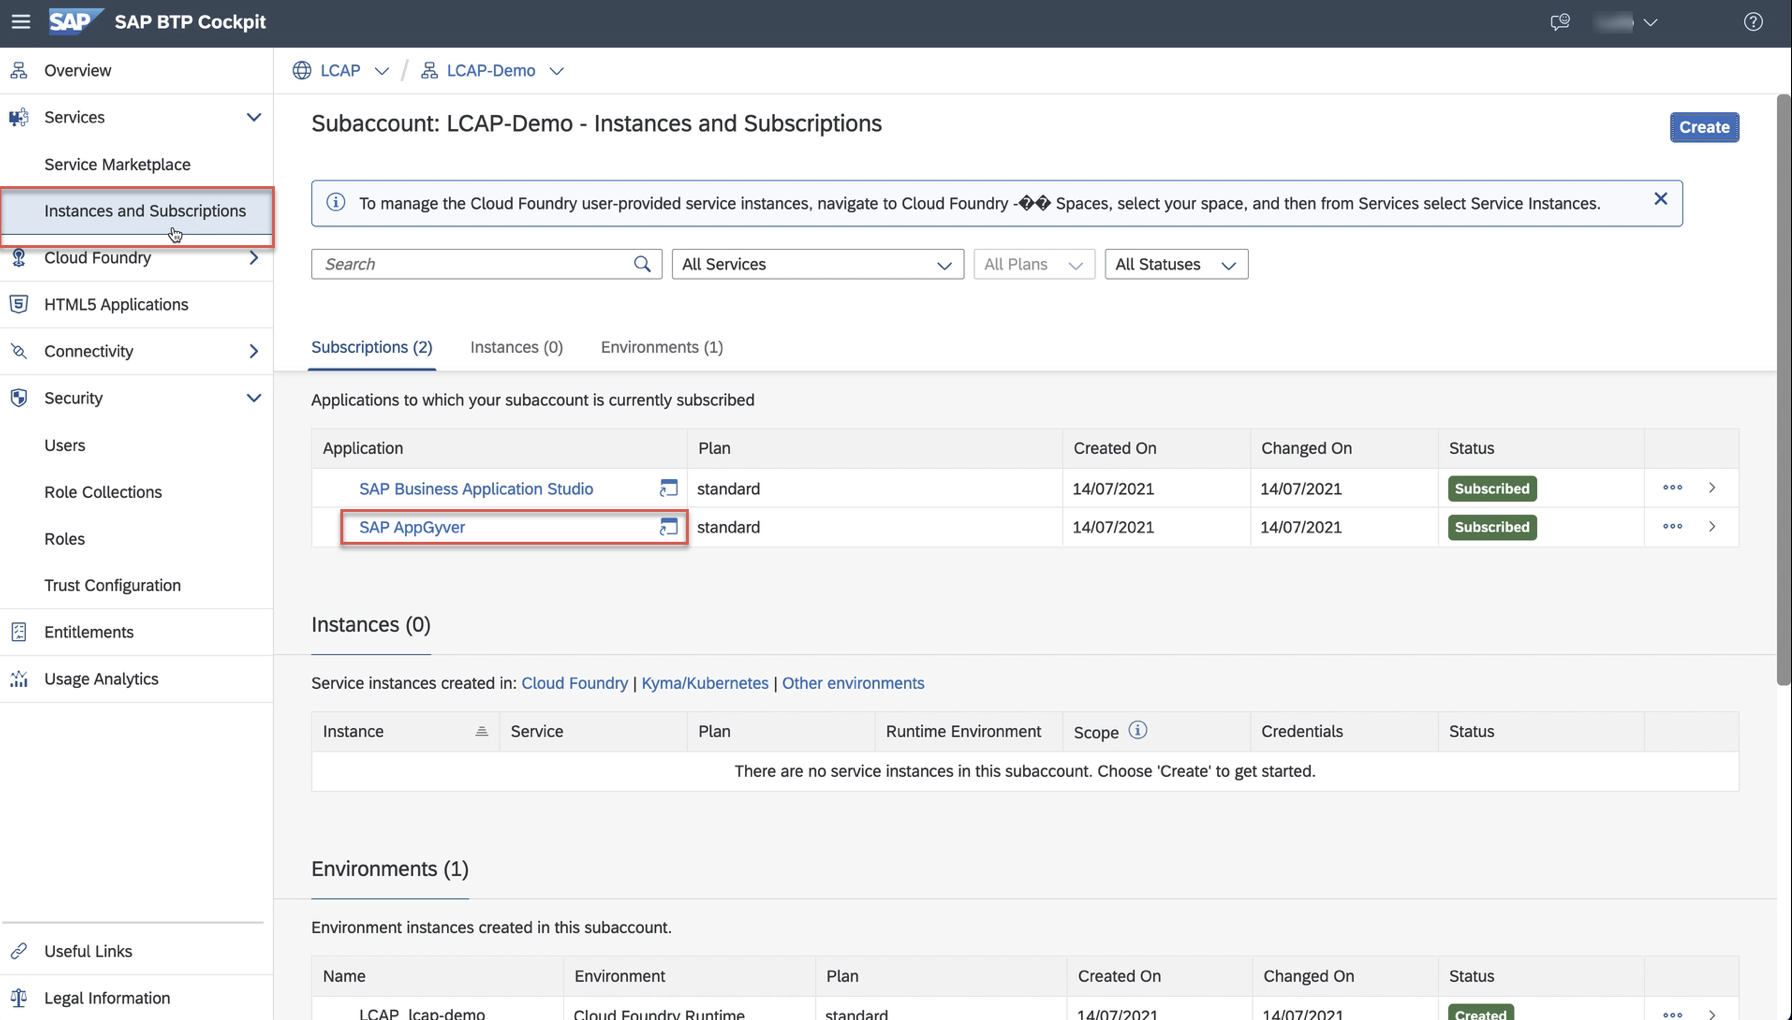
이제 앱개발 환경에 접근가능합니다. 앞으로의 튜토리얼에서는 APPGyver 프로젝트를 만들어 볼 것입니다.
- 이전글SAP App Gyver Unit2. SAP AppGyver로 애플리케이션 제작하기 21.11.19
- 다음글SAP UI5 Week 4 - Unit 5. 커스텀 컨트롤 제작하기 21.11.12
댓글목록
